Adding Chart Groups
Follow the steps below to add a chart group.
- Drag and drop the Chart Group object from the Design tab located on the right side of the window, to the Chart section of the Design canvas.
Result: The Chart Group object now displays in the Chart section in the Design canvas. - Click the Group(x) object just placed in the Chart section of the canvas.
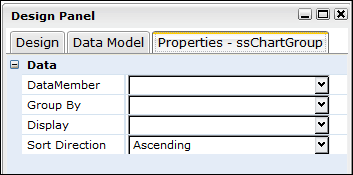
Result: The Properties dialog for the Chart Group object is displayed in the Design panel located on the right side of the window

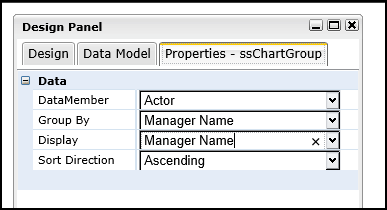
- Click the drop down arrow in the DataMember field and select the data value to be charted.
Result: The DataMember field displays the selected value. - Click the drop down arrow in the Group By field, and select the applicable option.
- Set any other applicable properties.

- Save the report by selecting Report > Save from the main menu.
The following table provides descriptions for the chart group property settings available for reports:
| Property | Description | Grouping |
|---|---|---|
|
Data Member |
Determines the data model used for the chart group.
NOTE: All controls inside the Chart Group section have to be from this Data Model parent or child nodes. |
Data |
|
By Group |
Determines the field or expression used to generate the group value. Choices are:
|
Data |
|
Display |
Determines the value to display in the Chart Group Header.
Choices are:
|
Data |
|
Sort Direction |
Determines the direction in which the chart data will sort. Choices are:
|
Data |